Table of Contents
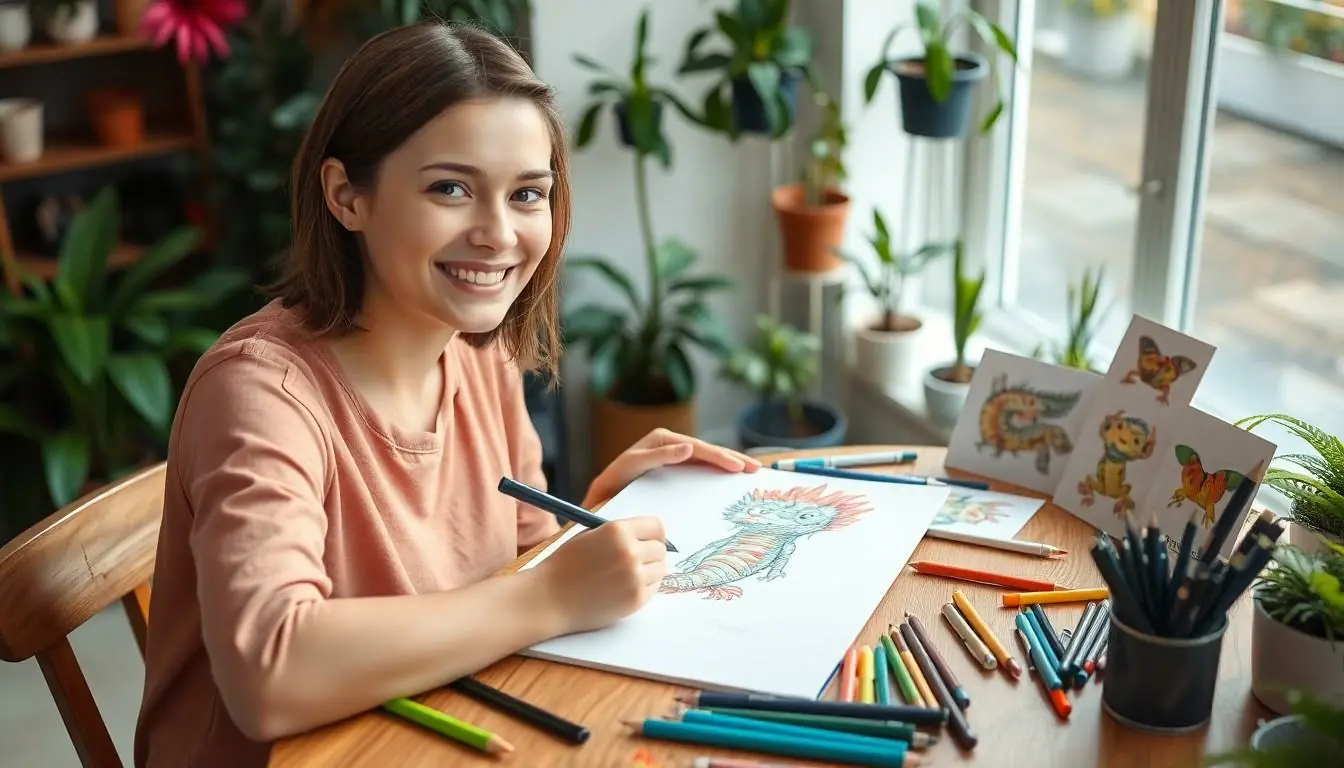
ToggleIf you’ve ever wanted to draw something as cute as a marshmallow with gills, look no further than the axolotl! This quirky amphibian, with its frilly gills and goofy grin, is not just a favorite in the pet world but also a charming muse for budding artists. Drawing an axolotl is like creating a cartoon character straight out of a whimsical dream, and it’s easier than you might think.
Understanding Axolotls
Axolotls stand out due to their unique features and playful demeanor. These aquatic amphibians capture the imagination of many.
The Unique Characteristics of Axolotls
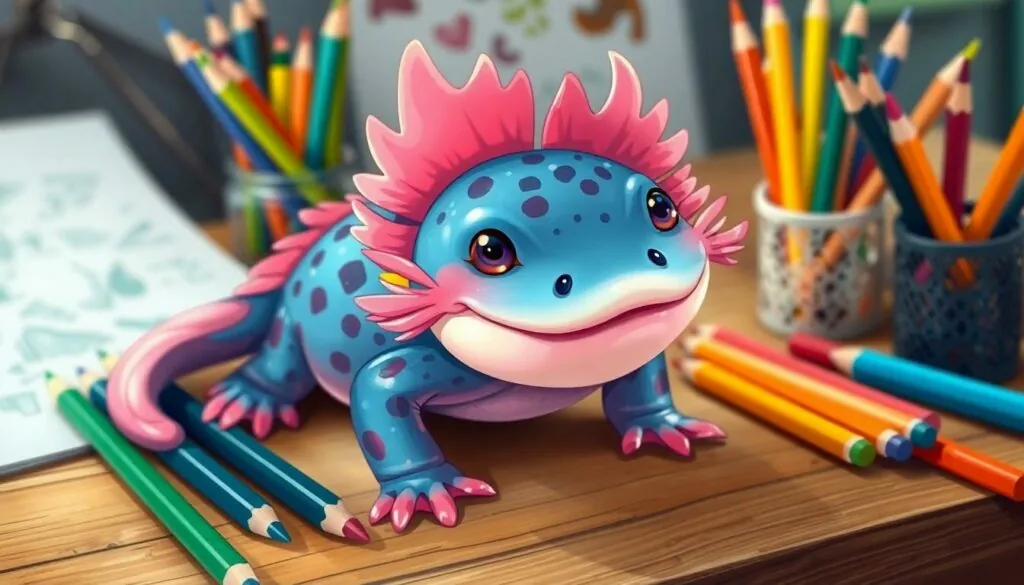
Frilled gills frame the face of an axolotl, resembling a feathered crown. This distinctive trait aids in respiration. Limbs emerge in a small, compact body, typically measuring 6 to 18 inches in length. Colors vary widely, including shades of pink, white, and black. The ability to regenerate lost limbs and even parts of their heart enhances their captivating nature. Their neotenic behavior, retaining juvenile features throughout adult life, further distinguishes them from other amphibians.
Why They Are Popular in Art
Artists frequently highlight axolotls in various creative forms. Their whimsical appearance and vibrant colors inspire imagination. The playful essence of axolotls resonates in illustrations, making them ideal subjects for both children and adults. Many find joy in capturing their charm on paper, using simple shapes for easy drawing. Popularity in culture and media also fuels artistic expression. These unique aspects contribute to the axolotl’s appeal in artistic communities.
Tools for Axolotl Easy Drawing

Artists can create delightful axolotl drawings with a few essential tools. These supplies enhance creativity and ensure enjoyable drawing experiences.
Essential Drawing Supplies
Pencils in various hardness levels allow for sketching and detailing. An eraser helps refine shapes and correct mistakes. Quality paper provides a smooth surface for the artwork. Markers or colored pencils offer vibrant options for coloring the axolotl’s unique features. Fine liners can add intricate details to the drawing. Experimenting with blending tools can enhance the colors and create soft transitions.
Recommended Techniques for Beginners
Start with simple shapes to outline the axolotl’s body and head. Use basic curves to define its limbs and tail. Following the outlines, add details such as gills and eyes. Shading can showcase depth and bring the drawing to life. Beginners may benefit from observing reference images, focusing on proportions and colors. Practice regularly to develop skills and confidence in drawing.
Step-by-Step Guide to Axolotl Easy Drawing
Drawing an axolotl involves simple steps that make the process enjoyable and approachable for everyone.
Basic Shapes and Outlines
Begin with basic shapes to form the axolotl’s body. Use a large oval for the main body and a smaller circle for the head. Sketch two additional smaller ovals for the limbs. Next, outline the frilled gills, which can appear as wavy lines around the head, resembling feathers. Ensure these shapes are proportionate. After establishing these outlines, refine the basic structure by connecting the shapes smoothly. Simple curves can define the body and tail, ensuring a playful look. Keep the pencil strokes light; this allows easy adjustments.
Adding Details and Texture
Focusing on details brings the axolotl to life. Start with the eyes, large and expressive, positioned near the head’s center. Add pupils to enhance the character’s cute expression. Next, detail the frilled gills by emphasizing their texture with wavy lines. Incorporate finer features such as spots on the skin for added depth. Shading various sections of the body enhances dimension. Pay attention to the limbs, suggesting small toes and defining the shape further. Use gentle strokes for a softer appearance, allowing the drawing to feel more dynamic and engaging.
Tips for Enhancing Your Axolotl Drawing
Enhancing axolotl drawings involves thoughtful choices in color and attention to common pitfalls. Understanding these tips can elevate the artwork.
Color Choices and Shading Techniques
Select vibrant colors to reflect the axolotl’s playful nature. Soft pinks, blues, and greens often capture its whimsical appearance. Use colored pencils or watercolors for blending effects. Layering light shades first before adding deeper tones creates a natural transition. Consider using white to highlight areas where light hits, enhancing the 3D effect. Shading around the gills and body contours adds dimension, emphasizing the unique features. Experiment with contrasting colors to make the axolotl pop against the background. Ultimately, balancing colors maintains visual interest.
Common Mistakes to Avoid
Avoid starting without a clear sketch outline. Many artists skip this step, leading to distorted proportions. Keep an eye on gill placement; they should reflect symmetry. Forgetting to observe reference images can result in inaccuracies, so always have a visual guide nearby. Overloading with details might clutter the drawing, diminishing its charm. Focus on selective details rather than trying to capture every aspect. Neglecting to blend colors smoothly can create harsh lines, hindering the overall appeal. Addressing these mistakes anticipates a more polished outcome.
Drawing an axolotl offers a delightful opportunity for artists to express their creativity. Its whimsical features and vibrant colors make it an ideal subject for both beginners and seasoned artists. With the right tools and techniques anyone can capture the charm of this unique amphibian.
By following the step-by-step guide and practicing regularly artists can enhance their skills while enjoying the process. Embracing the playful essence of the axolotl not only brings joy to the drawing experience but also fosters a deeper appreciation for this enchanting creature. Whether for personal enjoyment or as part of a larger artistic journey the axolotl serves as a captivating muse.


